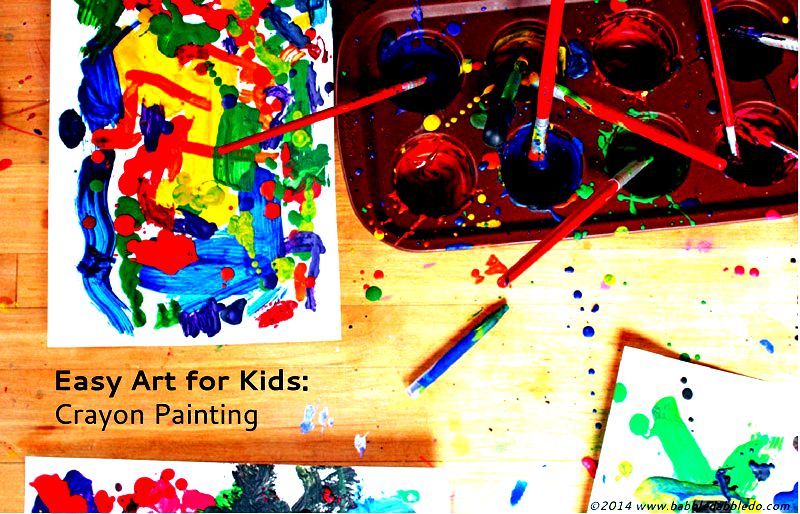
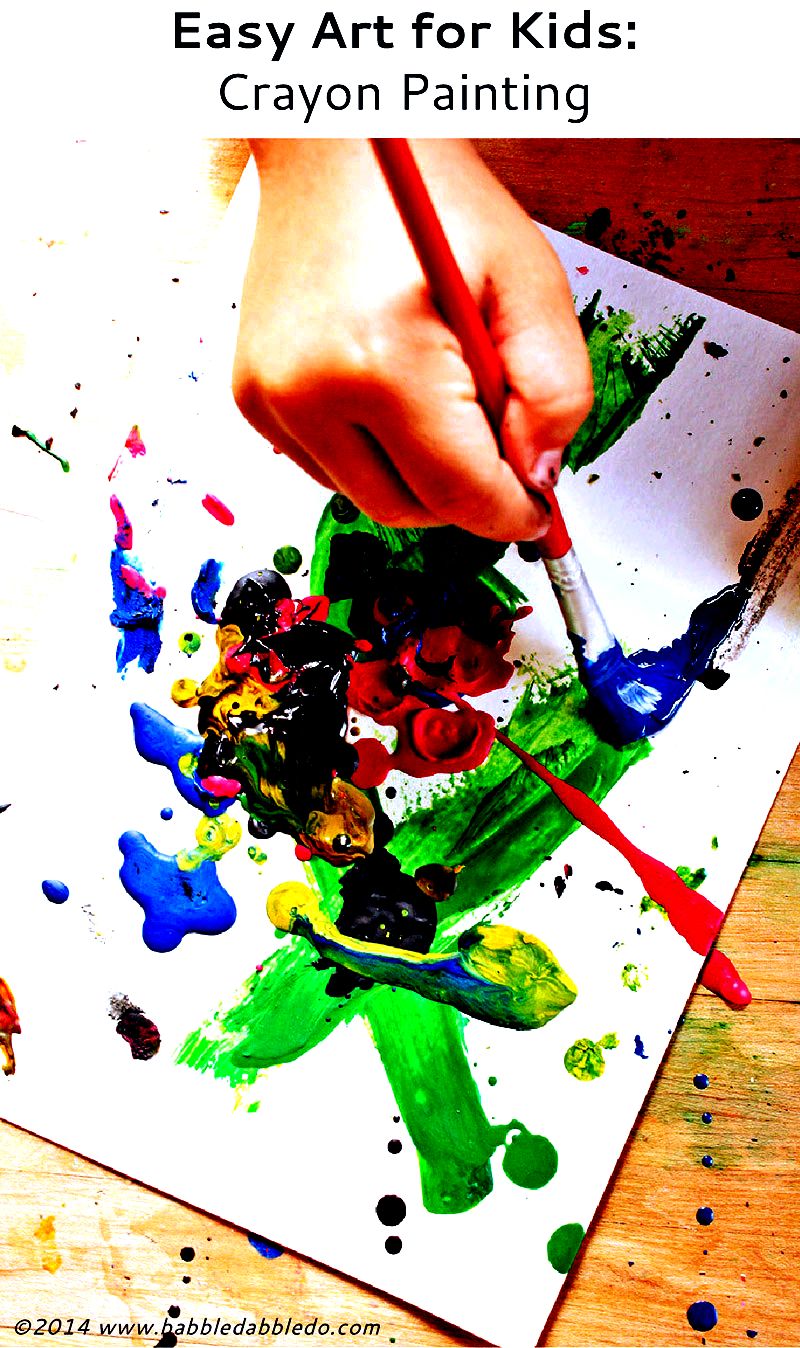
Crayon artwork using melted crayons continues to be the crafting rage for some time now, usually in conjunction with a blow dryer. I began tooling around along with other options for melted crayon art projects and made the decision about this simple easy art task for kids: Crayon Painting. I am talking about who wouldn’t love painting with warm melted crayons? And if you are using a silicone muffin dish for melting, the work is comparatively safe for children!
This project belongs to the simple art projects for children series located by about 9 awesome art mother bloggers! This week’s theme is exploring crayons. Previous projects out of this series are: Watercolors & Oil and Clay Resist Art. For additional fun with crayons scroll towards the finish of the publish for further projects!
This publish contains affiliate links to products I love and recommend to my readers, and it also keeps this little blog o’mine afloat! Thanks!
Easy Art Projects for children: Crayon Painting
Materials
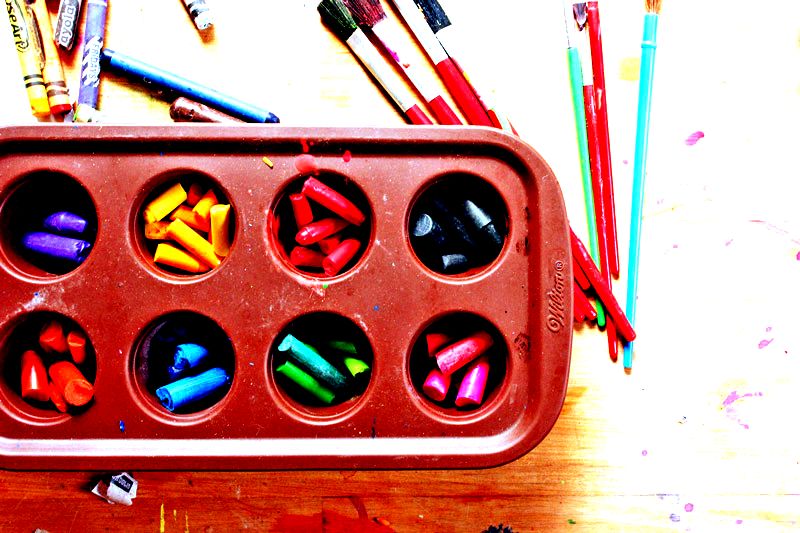
- Old crayons
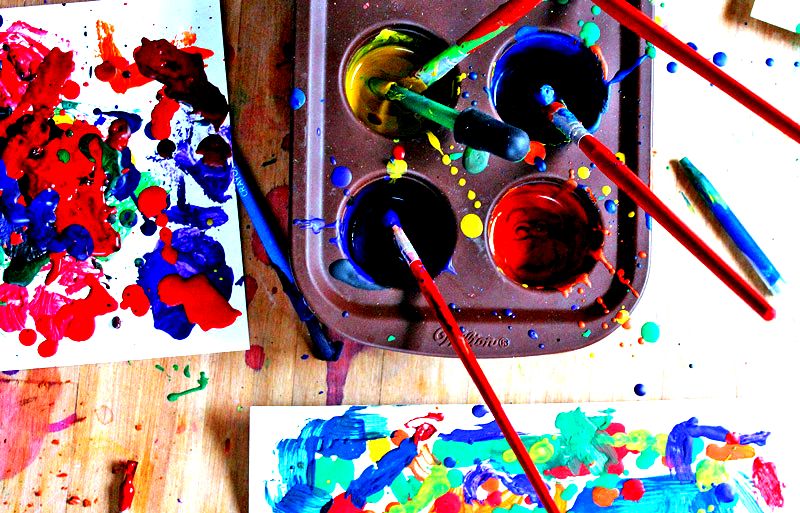
- Silicone muffin/pop pan exactly like it
- Affordable Styling Brushes- they’ll be waxy later on
- Eye Droppers
- Paper or small canvas panels
- Oven
Instructions
- The First Step Preheat your oven to 275 levels
- Second Step Peel the paper off your old crayons, break them into pieces, and type into color families. Put the sorted crayon bits into each portion of your muffin pan.
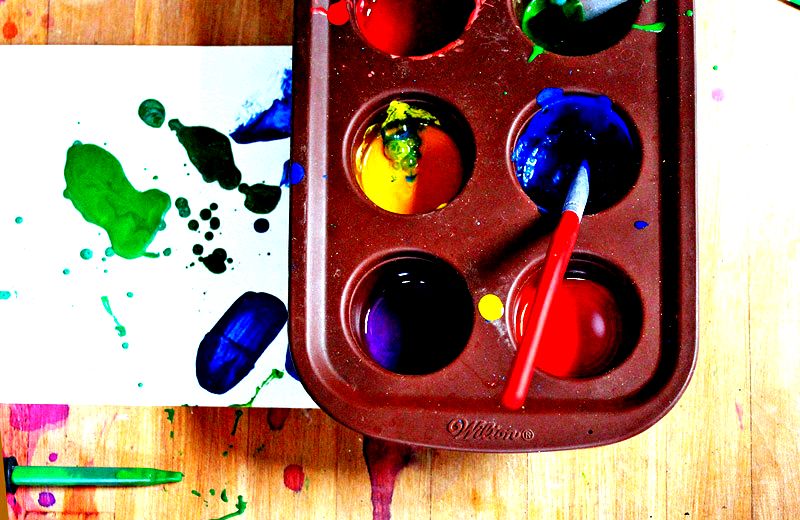
- Third Step Place muffin pan and crayons within the oven for 15-twenty minutes or until crayons are totally melted.
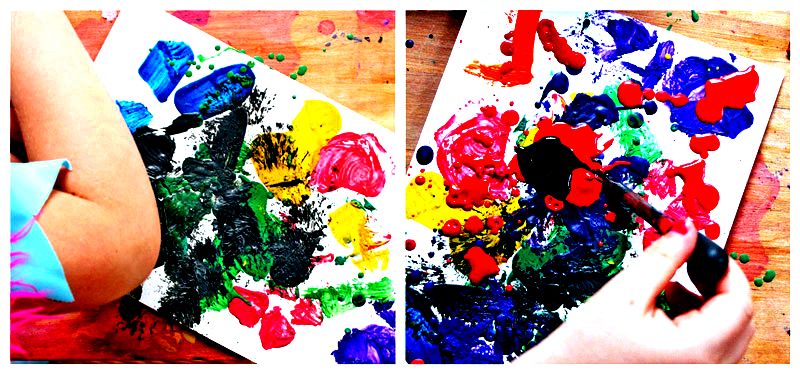
- Fourth Step Remove muffin pan and put on table. You can start painting immediately using the melted crayons. The silicone baking dish should awesome lower inside a minute approximately from the oven. It it’s still warm although not burning hot. In almost any situation it’s smart to instruct your kids To not touch the silicone muffin pan. It’s also wise to warn them the wax is hot so don’t touch it.
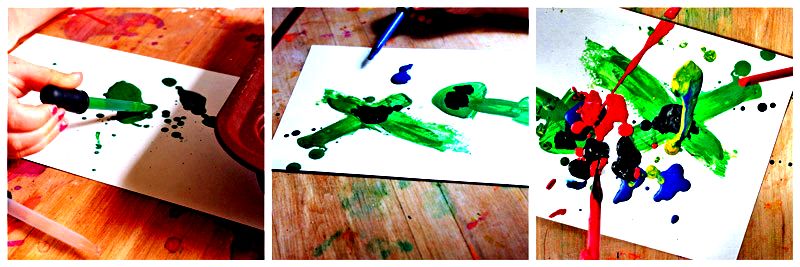
- Fifth Step Make use of the melted wax like paint. You are able to paint with brushes and/or use eye droppers using the melted crayons. I suggest eye droppers for older kids ONLY since more youthful children might possibly not have the fine motor control to help keep drops of wax business skin. The melted crayons will stay workable for around 10-fifteen minutes. After that they’ll begin to awesome and harden.
- Sixth Step Allow the works of art totally dry. It will require about half an hour.
Tips/Cleaning
- You may also help safeguard little arms from hot wax by getting your son or daughter put on lengthy sleeves.
- Clean the dried wax from you paintbrushes by putting these questions jar of boiling water. Swish them around to get rid of the wax and dab in writing towels. When totally dry, any remaining wax could be flaked from the brushes by rubbing the bristels involving the fingers. Eye droppers could be cleaned by soaking in boiling water then pushing the warm crayon while using finish of the paint brush.
- Once totally dry the crayon painting is going to be “brittle” and warping the paper may cause the big pools of crayon to pop off, departing behind a translucent colored area around the original paper. If you wish to save the completely melted crayon task for display consider painting on small canvas panels instead of paper.
- Don’t make use of the silicone baking dish for food following this. I’ve got a dedicated silicone pan only for art projects. When the wax is dry, the rest of the items of melted crayon can really be sprang from the dish.

Project Extensions
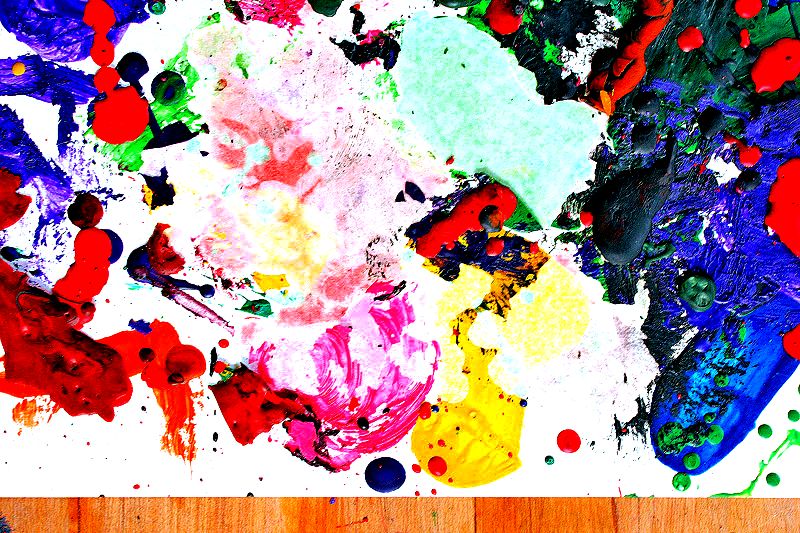
- Being an extension for this project, have your kids pop the dried crayon from the paper to show the gently shaded translucent color underneath, that is by itself pretty.

- Convey a blank piece of paper within the painting and employ one fourth to rub within the entire painting and transfer the colour towards the blank paper.
- Another way of transferring enter, is to put a blank piece of paper on the heat safe surface, then lay the initial painting face lower around the paper along with a come with an adult iron the backside from the original painting to transfer the look. If the rear of the initial artwork has wax remains, safeguard your iron by putting another piece of paper on the top from the original art.
Appears Like
Encaustic Painting. Encaustic techniques involve using beeswax and pigments to develop layers for textural works of art. It’s an attractive and complicated art technique with lots of variations. Objects could be collaged in to the wax too! Google encaustic works of art for many fun ideas.
Conclusion & More Projects!
So the next time you cleanse the crayon odds and ends out of your art stash melt them lower and perform some crayon painting using the kids. It’s so easy and an enjoyable textural project!
Now onto more enjoyable exploring crayons:
Melted Crayon Art having a Glue Gun from Learn Play Imagine
Art for children Using Crayons and Sandpaper from Buggy & Buddy
Crayon Transfer Technique from Small Rotten Peanuts
Crayon Resist Photo Display from Twodaloo
Crayon Art Sculpture from Meri Cherry Blog
Melted Crayon Art for Easter time from Blog Me Mother
Coloring Fabric with Crayons from Willowday
Out on another lose out on more art for children here on Babble Dabble Do! Subscribe below or like us on Facebook.
Resourse: http://babbledabbledo.com/easy-art-kids-crayon-painting/
No-Prep Art Project for Kids: Magical Appearing Pictures
COMMENTS:
MsMattimeo: I like this idea, my niece will love it, and this looks fabulous!
Heidi Anne Morris: Excellent :)